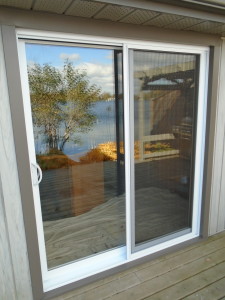
A very common situation we run into when replacing a patio door would be a hidden rotten floor.
If your existing patio door is leaking water, even just a little bit, over time this will create a big problem.
The main problem with leaking water is a very hard thing to diagnose, or even detect in most cases.
On a side note: The diagnosis can be even more confusing if the water is travelling within the wall and turning up in a completely different location. Watch for future posts on this topic
For a while, the patio door manufacturers came up with the idea of a thermally broken threshold. This basically means they cut the bottom sill in half and attach it back together with a vinyl (or similar) spacer. This spacer is placed in such a spot so that the outside gets warmed and cooled independently of the inside
Typically these are found on older aluminum patio doors, but occasionally vinyl doors will incorporated this as well.
While this is a good idea with an eye towards performance, if done incorrectly, or if this section begins to beak down, it will create a trough, or a leak point and channel water inside the home.
What makes this even worse , the interior flooring will generally hide the water intrusion.
For instance, if you have tile in front of the door, the plywood beneath will soak up the water. And will continue to soak up water for years, in effect wicking it back several feet (meter or so for those of you under 30) and rotting it away as it goes.
So, what do you do if you run into this problem during your ambitious DIY weekend project? Follow along during a typical installation with water damage
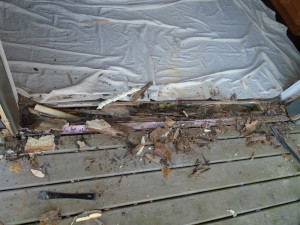
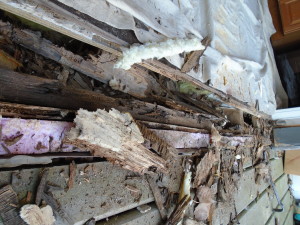
This picture shows the original patio door removed. Here we get a good look at the water damaged flooring
Luckily for these home owners, the damage stopped at the plywood and did not do any damage to the floor joists.
The punky and wet plywood is removed as far back as required to hit solid dry wood. Unfortunately this may require the removal of the existing floor finishes. Every situation is different.
Once everything is cut out and cleaned up, we begin to reassemble, Starting with new plywood.
We have on occasions, use pressure treated 2×6’s or 2×8’s. Every situation is different and needs to be assessed accordingly.
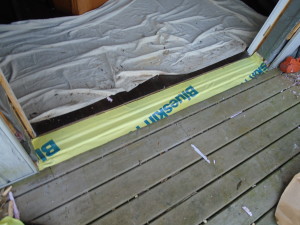
Although it might be considered overkill, after the new wood is installed, we like to put a layer of Blueskin down prior to installing the new door.
With the advantages of Blueskin, I think you will agree it is a good way to get an extra piece of mind for years to come
http://ca.henry.com/fileadmin/pdf/literature/WaterproofingBrochure.pdf
To finish off the installation, the door now gets installed into the opening.
See the link to our FAQ page for tips on proper door installation
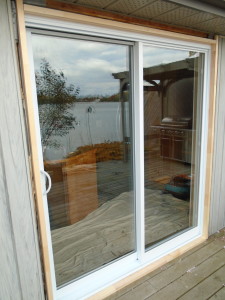
This picture shows the new Royalplast door installed.
The new wood around the perimeter is to allow a solid backing for attaching the flashing. The requirement for this is unique to every installation and every home.
The finished product.
Too much work to dedicate one weekend? Free up your time and let us take care of the hard part.
A link to the Royalplast Patio door in these pictures can be found on our website
Or find them in our showroom 7-5 mon-fri 613 394 3597
